

Experienced Real Estate Photographer for Listings: The Ultimate Guide
Real Estate Photographer: When it comes to selling a home, visuals are everything. According to real estate statistics, listings with professional photos sell 32% faster and can fetch up to 47% higher asking prices. The demand for an experienced real estate photographer for listings is higher than ever, and for good reason.
In this comprehensive SEO-optimized guide, we explore everything buyers, sellers, agents, and even aspiring photographers need to know about hiring or becoming an expert in real estate photography for listings.
Table of Contents
- Why Real Estate Photography Matters
- What Makes an Experienced Real Estate Photographer?
- Essential Equipment for Real Estate Photography
- Real Estate Photography Techniques for High-Impact Listings
- Editing and Post-Production: Bringing Photos to Life
- Drone Photography and 3D Virtual Tours
- How to Hire an Experienced Real Estate Photographer
- Costs and Pricing Models Explained
- Tips for Realtors to Maximize Their Investment
- How to Become a Professional Real Estate Photographer
- SEO for Real Estate Photographers
- Final Thoughts
- Frequently Asked Questions (FAQs)
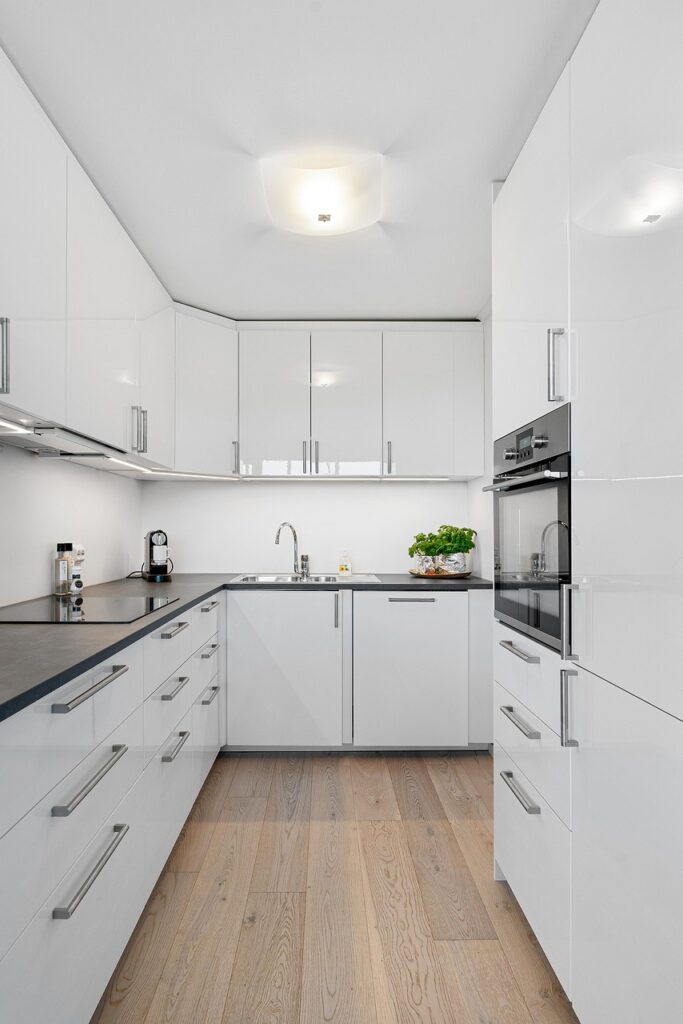
1. Why Real Estate Photography Matters
Before potential buyers read descriptions, they see photos. High-quality real estate photos:
- Create a strong first impression
- Increase online views and engagement
- Highlight a property’s best features
- Build trust and credibility with potential buyers
Listings with professional photography can generate up to 118% more online views. For agents, this means faster sales and more satisfied clients.

2. What Makes an Experienced Real Estate Photographer?
Not all photographers are created equal. An experienced real estate photographer brings a unique mix of skills, including:
- Mastery of lighting, composition, and real estate angles
- Deep understanding of architecture and design
- Efficiency in shooting multiple rooms, exteriors, and amenities
- Proficiency in editing software (Lightroom, Photoshop)
- Communication and collaboration with realtors and staging professionals
Experience Indicators:
- Portfolio with consistent high-quality images
- Knowledge of HDR and bracketed exposure techniques
- Familiarity with MLS photo requirements
- Ability to shoot various property types: residential, commercial, luxury, condos
3. Essential Equipment for Real Estate Photography
The tools used by a professional real estate photographer can make or break the result.
Camera Gear:
- Full-frame DSLR or mirrorless camera (e.g., Canon EOS R6, Nikon Z6, Sony A7 IV)
- Wide-angle lens (16–35mm range)
- Tilt-shift lens for architectural control
Accessories:
- Tripod for stability and sharpness
- Remote shutter release
- Flash units and light modifiers (softboxes, diffusers)
- Light meters for interior balancing
Editing Tools:
- Adobe Lightroom and Photoshop
- HDR processing tools (Photomatix Pro, Aurora HDR)
- Panorama stitching software for 360° views
4. Real Estate Photography Techniques for High-Impact Listings
Here are the techniques top real estate photographers use to maximize a listing’s appeal:
A. Wide-Angle Shots
Helps rooms look larger and more spacious. Avoid extreme distortion.
B. Natural Lighting Balance
Use available daylight while supplementing with artificial lighting to keep colors accurate and shadows soft.
C. Straight Vertical Lines
Ensure vertical lines in doors, walls, and windows are truly vertical (fix with lens corrections or tilt-shift lens).
D. Declutter and Stage
Work with realtors to ensure spaces are tidy, well-lit, and appealing.
E. Bracketing and HDR
Take multiple exposures and blend them for perfect highlights and shadows.
5. Editing and Post-Production: Bringing Photos to Life
Editing is where the magic happens:
- Color Correction: Adjust white balance and saturation
- Exposure Blending: Combine multiple shots for dynamic range
- Sky Replacement: Make overcast skies appear bright and blue
- Object Removal: Eliminate distractions like trash cans or cords
- Sharpening: Enhance detail without overprocessing
Turnaround time is critical. Most experienced photographers deliver edited images within 24-48 hours.


6. Drone Photography and 3D Virtual Tours
Today’s buyers expect more than just still photos.
Aerial Photography:
- Show property location, landscaping, and nearby amenities
- Highlight lot size, driveways, and outdoor features
3D Virtual Tours (Matterport, Zillow 3D):
- Offer immersive walkthroughs
- Allow buyers to explore remotely
- Increase engagement time on listings
7. How to Hire an Experienced Real Estate Photographer
When hiring a real estate photographer, consider the following:
A. Portfolio Review
Look for clarity, consistency, and composition across different properties.
B. Ask the Right Questions:
- Do you offer drone or video services?
- What is your turnaround time?
- Can I use the photos for MLS and social media?
- Are you insured?
C. Testimonials and Reviews
Check Google, Yelp, or Realtor.com for authentic client feedback.
8. Costs and Pricing Models Explained
Photography costs vary by location, property size, and services included.
Typical Pricing Structures:
- Flat fee per listing (e.g., $150–$500)
- Tiered pricing by square footage (under 2,000 sqft vs. over 4,000 sqft)
- Add-ons: twilight photos, drone shots, 3D tours, floor plans
Sample Pricing:
- Interior & exterior: $200
- Drone aerial photos: $100–150
- 3D Virtual tour: $150–250
- Video walkthrough: $250–400
9. Tips for Realtors to Maximize Their Investment
To get the best results from your real estate photographer:
- Stage the Home: Clean and declutter before the shoot
- Schedule at the Right Time: Late morning or early afternoon for ideal lighting
- Provide a Shot List: Prioritize rooms, features, and angles
- Trust the Photographer: Let them work their creative magic
- Use the Photos Everywhere: MLS, website, social media, brochures
10. How to Become a Professional Real Estate Photographer
Interested in becoming a real estate photographer? Here’s how to start:
Step-by-Step:
- Learn Photography Basics: Exposure, lighting, composition
- Invest in Gear: Start with a DSLR, tripod, and wide-angle lens
- Build a Portfolio: Offer free or discounted shoots
- Learn Editing: Master Lightroom and HDR tools
- Network with Realtors: Attend real estate events, pitch services
- Offer Additional Services: Drones, 3D tours, twilight shots
Build a reputation by being reliable, communicative, and producing top-quality work.
11. SEO for Real Estate Photographers
As a real estate photographer, you need to be found online by agents and property owners.
SEO Tips:
- Use long-tail keywords like “experienced real estate photographer for listings in [city].”
- Create a Google Business Profile
- Optimize your website with portfolio galleries, testimonials, and service pages
- Blog about topics like “How to prepare your home for real estate photography.”
- Get backlinks from realtor websites
12. Final Thoughts
Whether you’re hiring or becoming an experienced real estate photographer for listings, the value of professional imagery cannot be overstated. The real estate market is competitive, and the difference between a home selling in weeks versus months can be the quality of the photos.
Professional photographers tell the story of a home with every shot. They help buyers imagine life within those walls and give agents a marketing edge.
13. Frequently Asked Questions (FAQs)
Q: What is the best time of day to shoot real estate photos?
A: Late morning or early afternoon with natural light. Twilight shoots are great for dramatic exterior shots.
Q: Can I use my phone to shoot real estate listings?
A: While phone cameras are improving, a DSLR or mirrorless camera with a wide-angle lens delivers far superior results.
Q: How many photos should a real estate listing include?
A: Typically 25–45 high-quality images covering every room and important exterior features.
Q: Is drone photography worth it?
A: Yes, especially for large lots or unique locations. Aerial views enhance listings significantly.
Q: How do I become an experienced real estate photographer?
A: Practice, build a strong portfolio, learn editing, and consistently deliver high-quality results.